You are here
How to make a handy List Organizer out of random stuff you have lying around
Hoo, boy, this little project came out of nowhere! But before I get to the tutorial, a little background...
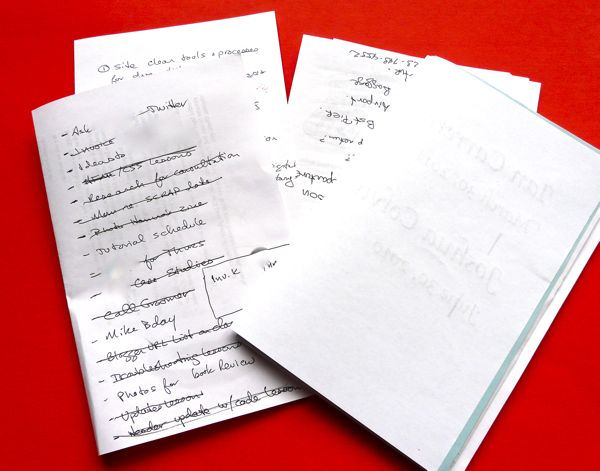
Here's how I maximize my office paper use: whenever I have paper I've had to print on one side, I fold it in half and use it as scratch paper. I write all my daily to-do lists on these things, and my phone call notes. And usually, there's an untidy pile of these folded sheets on my desk.
...So I thought: "I should come up with some kind of holder for these!"
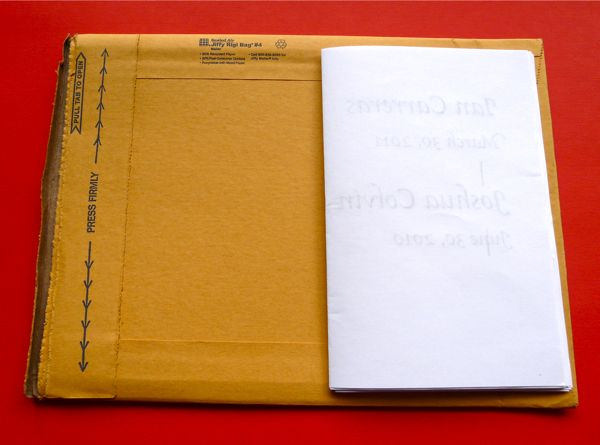
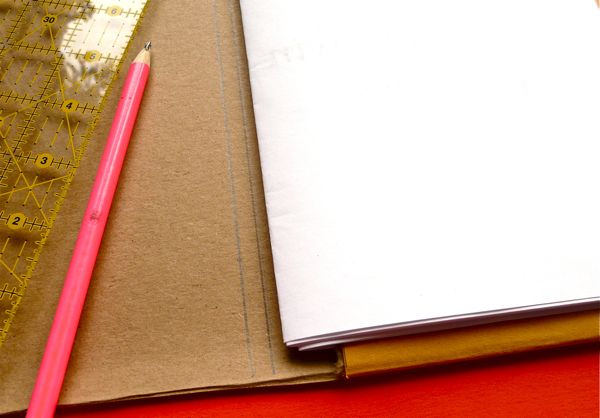
I started looking around for something that would form the basis of this holder, and found a 9x12 cardboard mailer in my re-use pile. Perfect!

So first, I wanted to make a pocket, so I could slide the folded sheets into it. I measured the size and drew a cut line on the back of the mailer.
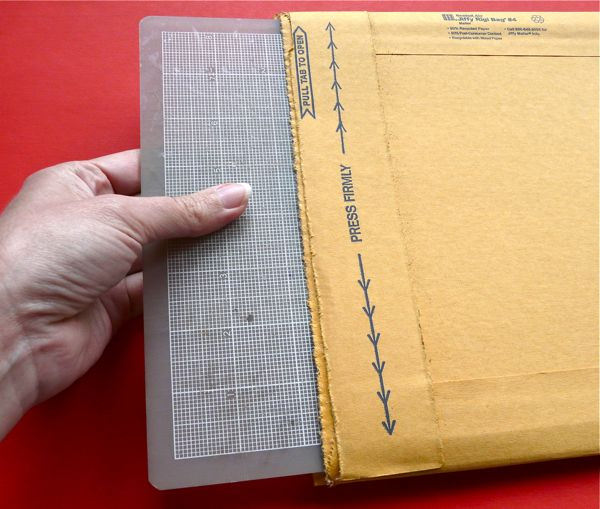
...Then I slid a cutting mat into the mailer, so I'd be able to cut only one layer of it. (You could also use a piece of thick cardboard.)
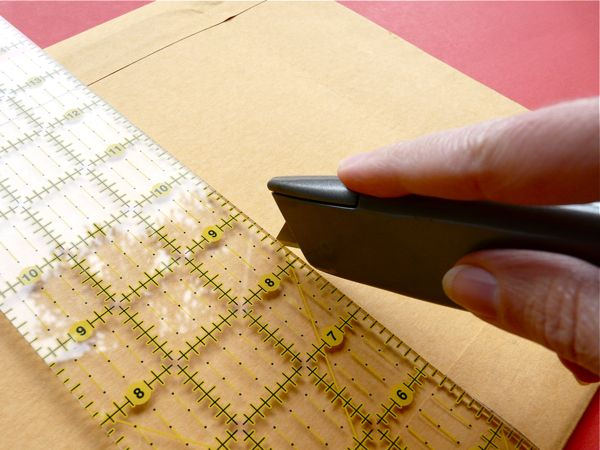
With that in place, I used a ruler to cut along the cut line with a utility knife. I used light pressure and passed over the cut several times, so I wouldn't damage any of the rest of the mailer.
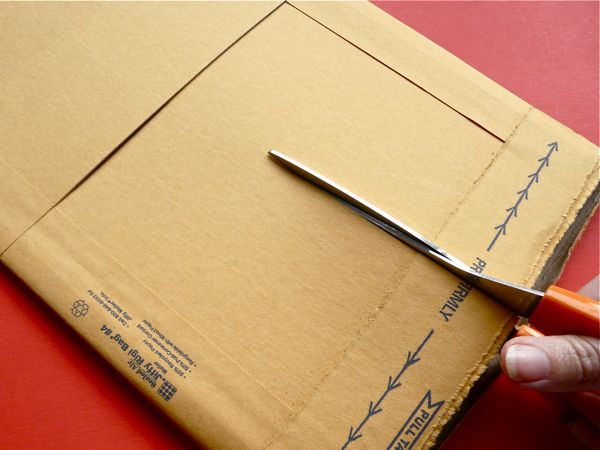
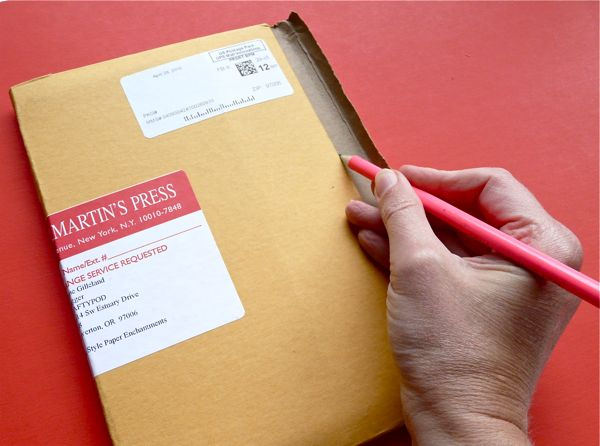
From there, it was easy to cut down the center of the back of the mailer...
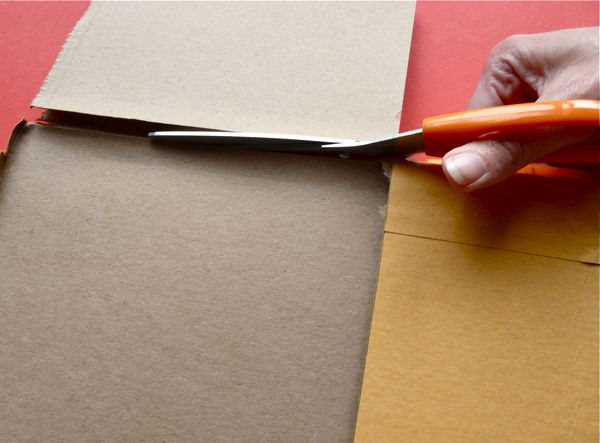
...And then cut away the excess parts of the back. Now I had a proper pocket, and the makings of a front cover!
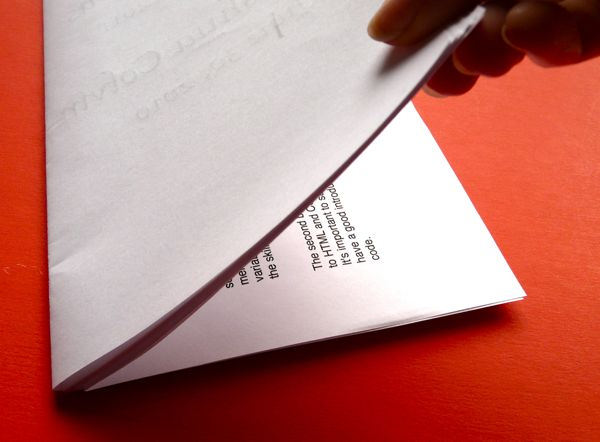
I stacked all my folded sheets with the blank side facing out.
Then, I slid my stack of paper into the pocket as a gauge, and then drew two parallel lines, about 1/4" apart. These form the spine of this book cover.
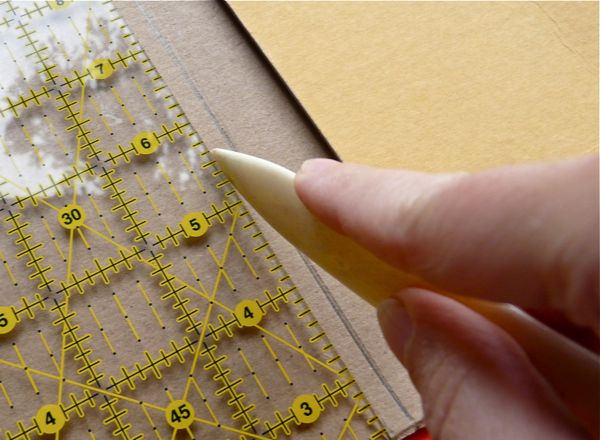
I gave these lines a good scoring with a bone folder and ruler.
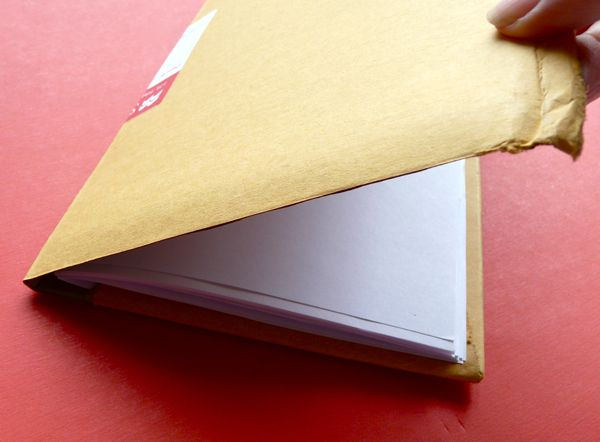
...And then folded on the score lines to form the front cover.
On the back, then, I traced along the edge, and then on the front, I cut along this traced line. That made the front cover match the back cover.
I really should have applied some hand lotion before shooting this tutorial.
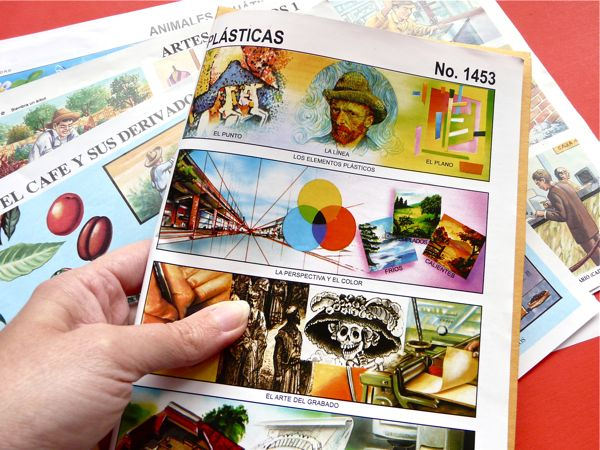
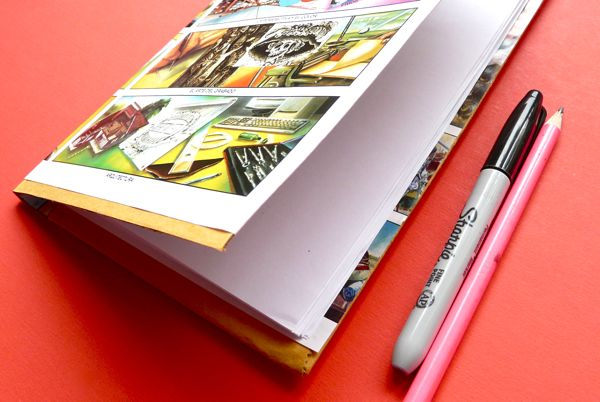
All I had to do now was find something good to decorate my cover. Heh! Heh heh heh!
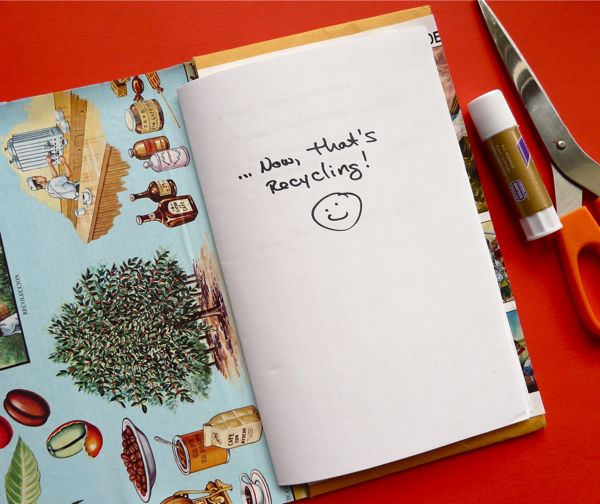
...So I just glued my awesome Mexican chromos to the front, back, and inside panels. You could also fuse some fabric to the cover. Or decoupage. Or rubber stamp. Or frankly, any one of a million other decorative techniques.
Now all my lists are tidy, and I can add and remove pages anytime I want. I can even grab the whole shebang and throw it into my bag if I need to take it with me.
Cool, huh?


![[Valid RSS]](../../../sites/files_cp7/valid-rss.png "Validate my RSS feed")
Comments
Thank you so much! I'm glad you liked it!
Way cool. Wonderful use of time and resources. Thanks for sharing. Found this through a tweet by @Blackdogworld, which I will retweet right now.
What a great idea! It would save me from all the little papers that are everywhere around the house.
COOL!!!!
Loved your Green Journal. I do use the other side of the printed pages too- but what a neat way of keeping them. I had to tell the whole world - So I just tweeted it. Dita from
http://www.alankarshilpa.blogspot.com
Thanks, Dita!
Thanks, Ann! Oh, Man - that happens with my notes all the time. :-)
Very cool, love how it's like bookbinding but you can change your book inside... :)
This is such a great idea!
Very Very cool. I just got one of those heavy mailers sent to me, will have to try this one!!!!
Thanks for having great ideas always.
I LOVE this!
Awesome idea and tutorial. I've moved all my lists to digital but this would be great for keeping the random knitting patterns I print organized.
Well done!
Very creative and fun! Thanks for the pictures.
I just cleaned off my desk yesterday and found about a million lists. Clearly, I need this! (I'll also need to remember to open it up every now and then.) Thanks!
This post totally appealed to the side of me that LOVES to take a peak into people's lists. =) Thanks so much for the fun project, I'll be linking.
Woohoo! Took all of 30 minutes to complete (not counting the 30 minutes spent locating my Ebay-ing hubby's stash of mailers). Not perfectly finished, but definitely handy. I love it! I confirm to all that you are a genius and I bow to your mad skillz.
CJ :)
Inside - http://i10.photobucket.com/albums/a145/linera/I...
Outside - http://i10.photobucket.com/albums/a145/linera/I...
HAHAHA! You're awesome, CJ. Thank you so much for sharing your photos! Can I put them in my Flickr group, please please? Your holder came out beautiful!
This is a great, great idea!! Wow...I love working with paper and I love fact of reusing stuff. Wonder what else I can learn on here...
I do the same thing with my paper I have printed off. I love the idea of how you put it all together. Maybe I can be organized now. Thanks!
I love it! A reuse idea that I can really use!
You certainly may.
CJ :)
Such a great idea! I do the same thing, collect all that one sided paper for scribbling lists and notes on, and it's currently in an ever-growing pile on the side of my desk. This would be so much more organized!
i love this, diane! i am so glad you were able to put those gorgeous papers to use, to beautify your every day, and get a bit more organized, AND share it with us - all at once! nicely done!
Thanks, Kendra! I do find that I love using it - and it feel much more friendly than that pile of folded paper I used to have! :-)
Great idea! Hmm, I think I may even make a couple of additions to mine.. a way to "bind" the paper into the folder. Thanks! I think I see Christmas presents and birthday presents from the grandkids to the grandparents using old artwork for this!
Too funny... I have the exact same pile of folded scrap paper sheets. (What's weird is to go through them every few months and have zero recollection of what some of the notes actually mean!) I should make a nice cover like yours - good idea, Diane.
I do exactly the same thing... without the holder. Cute idea - be a real nice, inexpensive gift, too!